
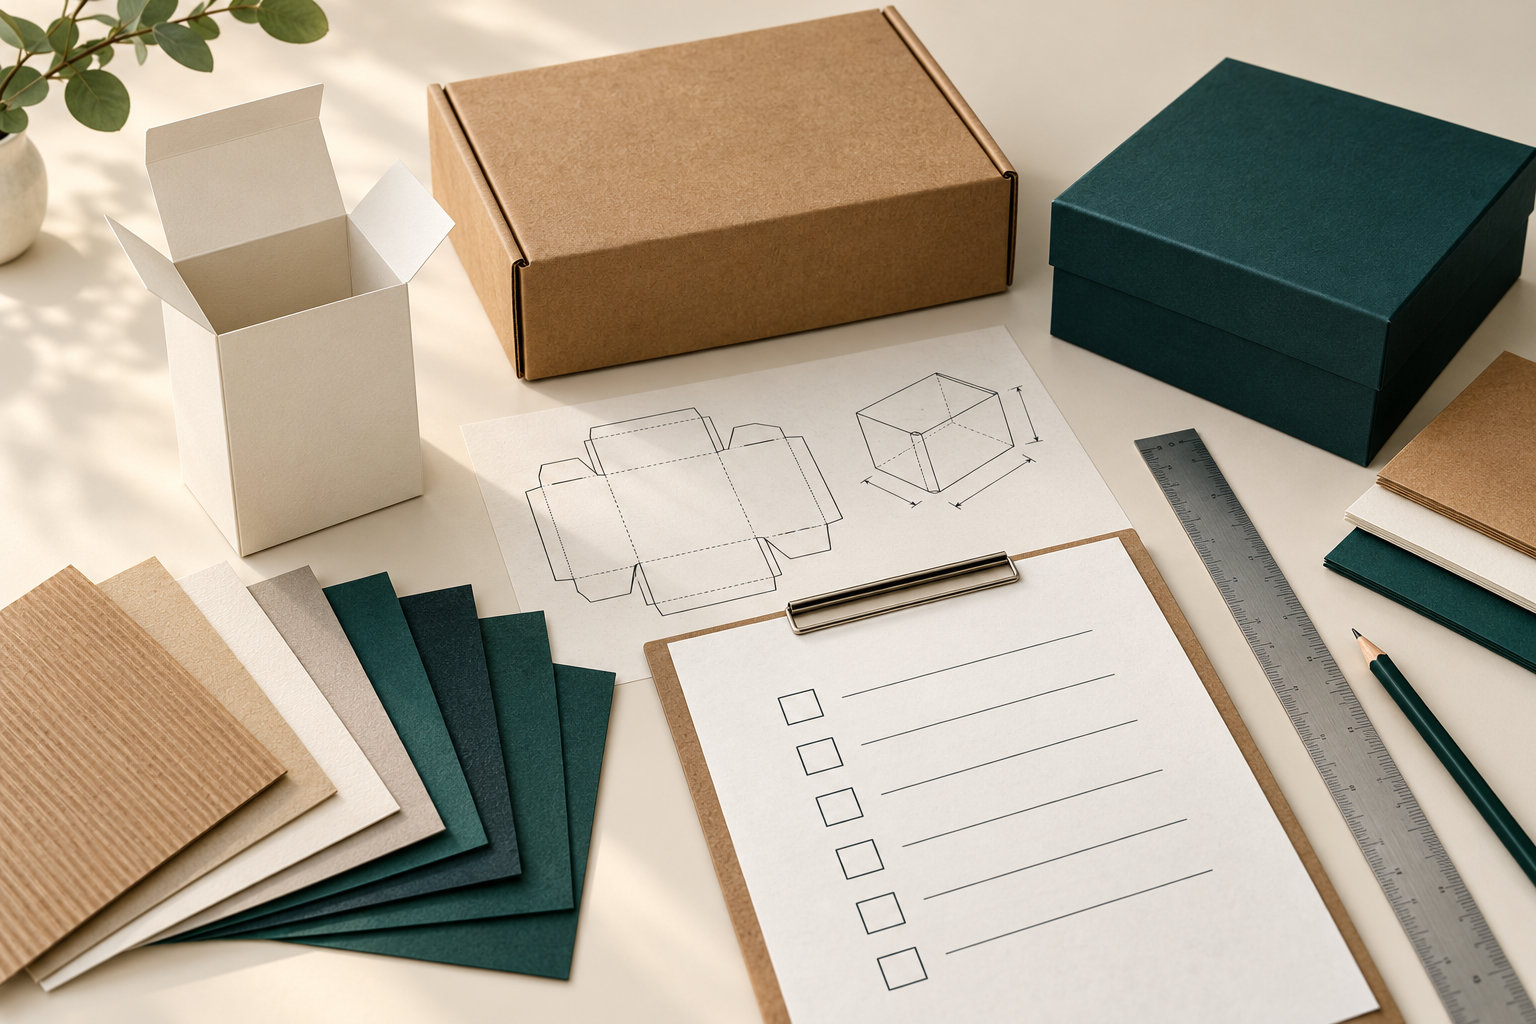
To measure box dimensions, record length × width × height, include the units, and state whether you mean internal space or the outside of the closed pack. For custom box dimensions, start with the fully packed product and any insert, then check the fit in a sample. Keep the labelled drawing with your measurements so the orientation stays clear.
1. Identify length, width and height
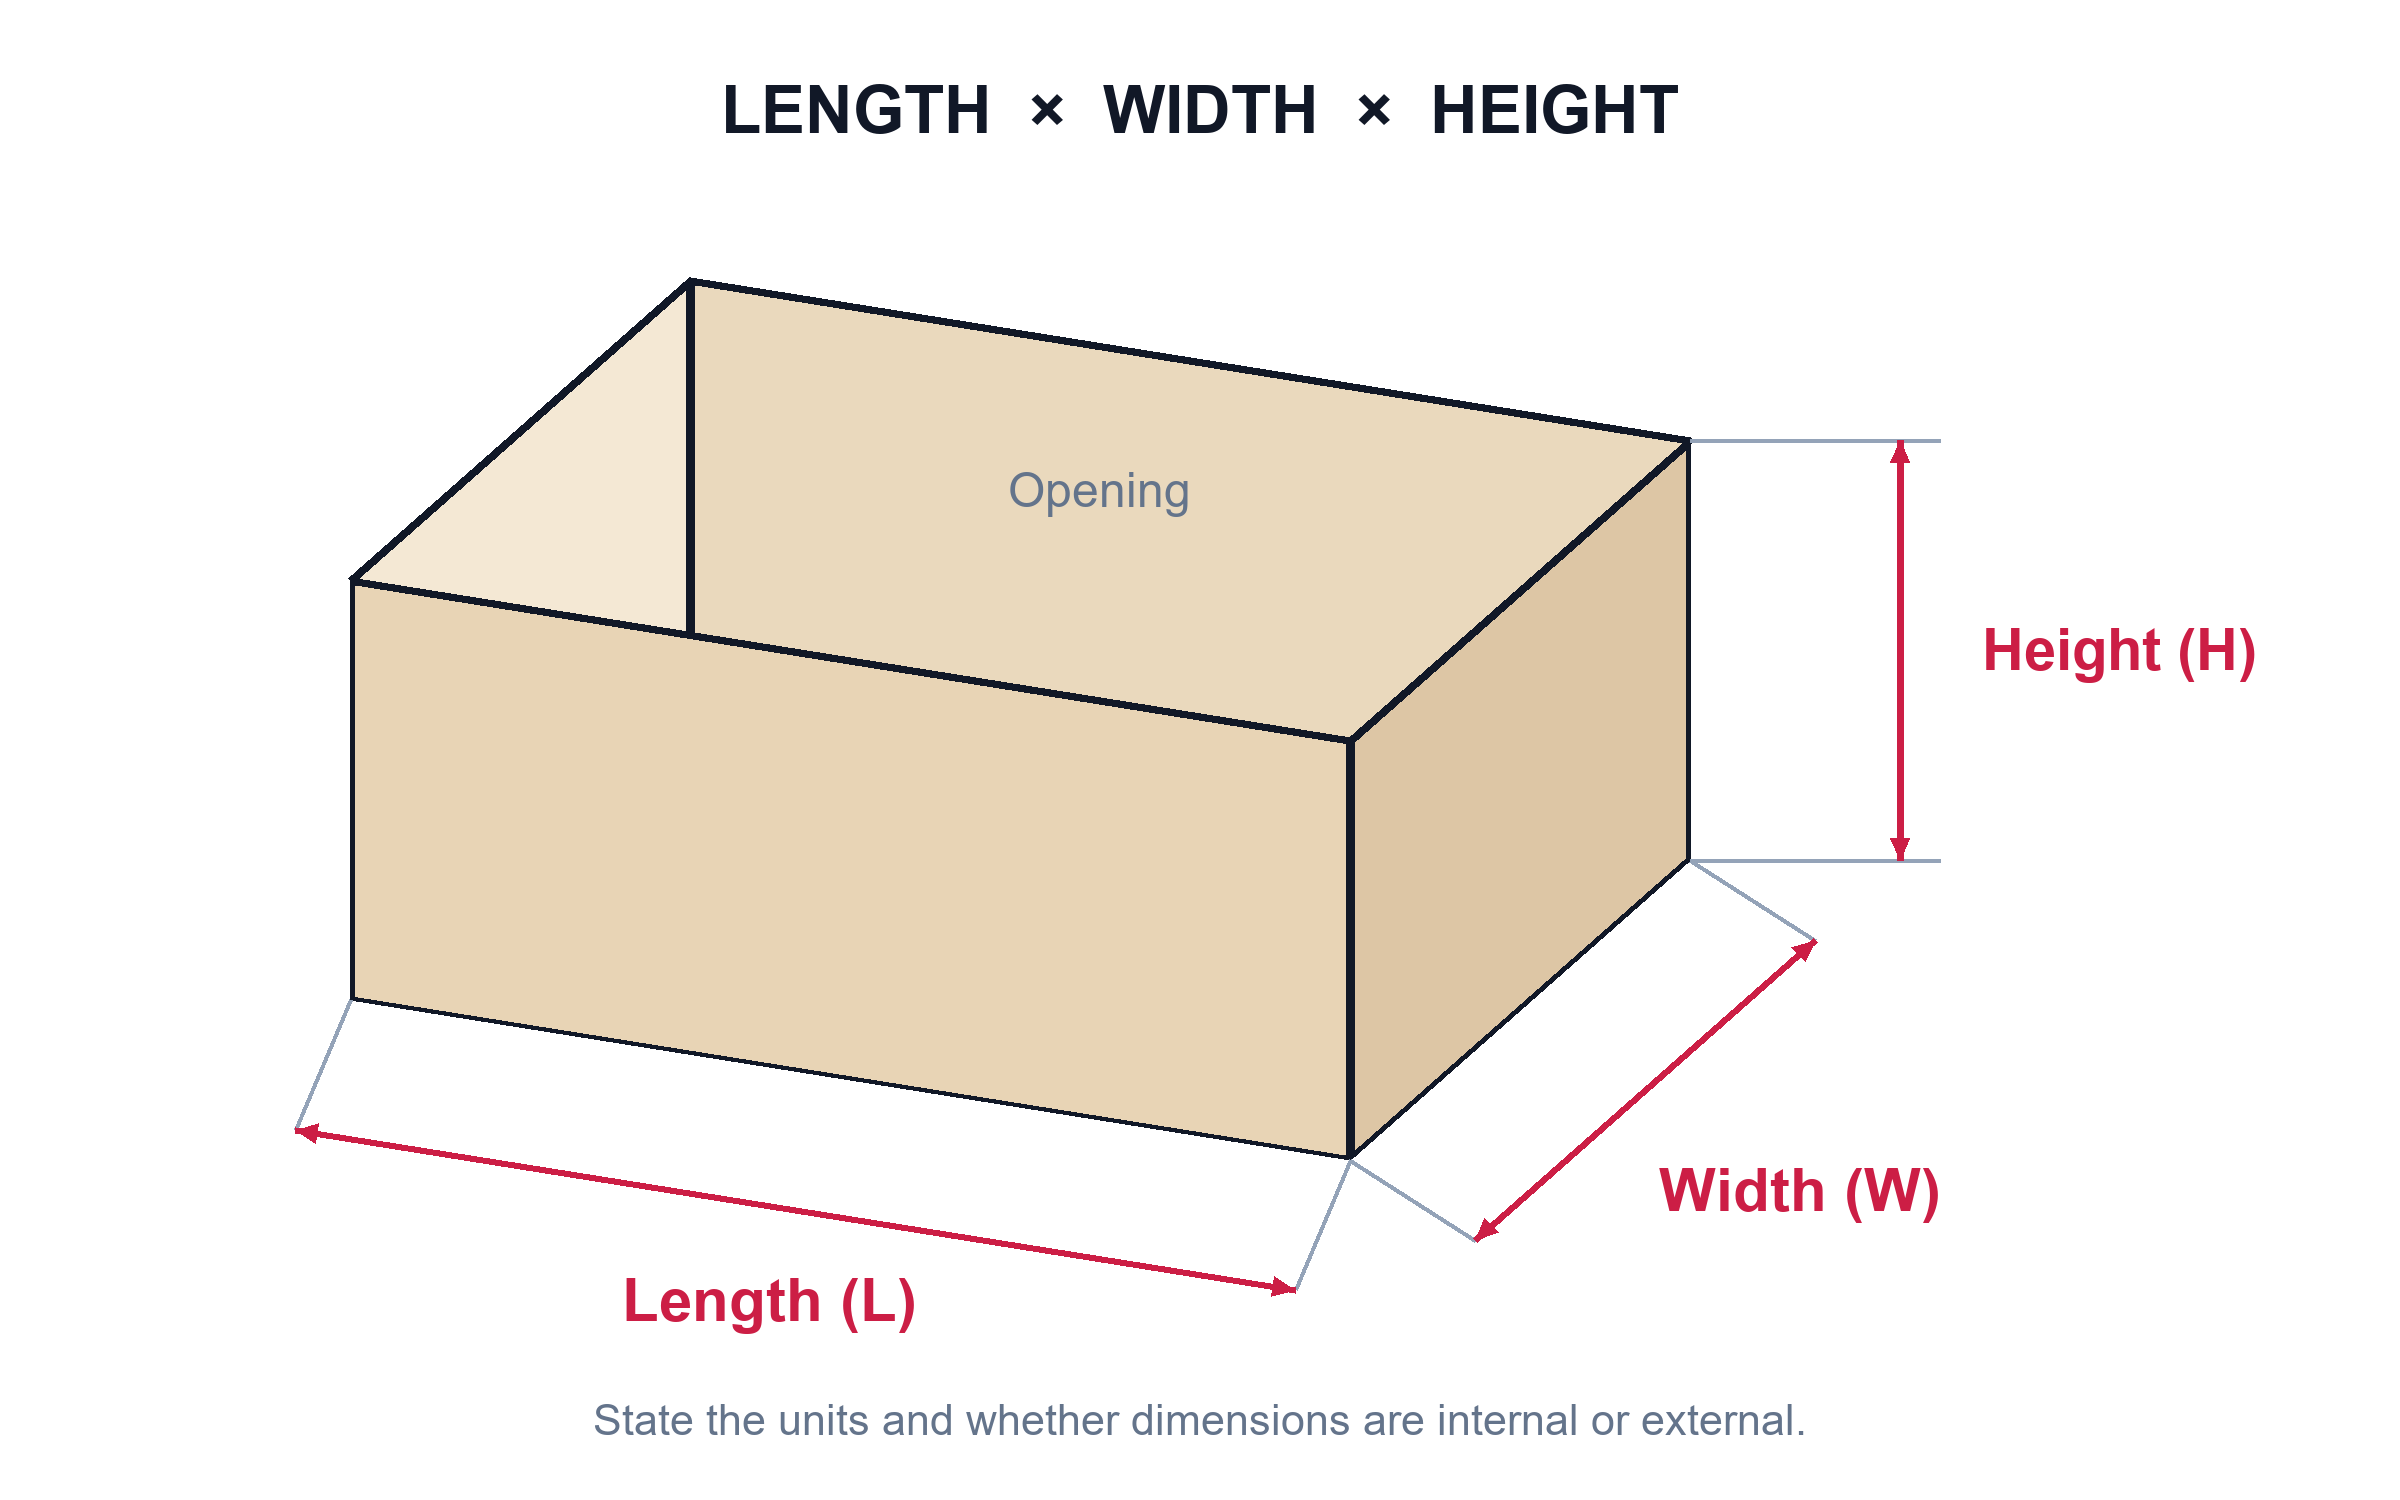
- Length (L): the longer dimension at the opening in this rectangular-box convention.
- Width (W): the shorter dimension at the opening.
- Height (H): the direction from the opening to the base. Check usable clearance beneath the closed lid separately.
The FEFCO Code uses internal L × W × H in millimetres for corrugated designs. Individual designs can use different orientations, so follow the supplier’s labelled drawing rather than simply putting the largest number first.
Write the basis with the numbers: “Internal L × W × H: 250 × 180 × 80 mm.” A bare “250 × 180 × 80” leaves both the units and measurement basis unclear.
2. Choose internal or external dimensions
| Dimension type | Use it for |
|---|---|
| Product envelope | The space occupied by the contents in their final arrangement, including wrap and accessories. |
| Internal box size | Fit inside the formed box. Inserts, lining, folds and closures can reduce the usable product space. |
| External box size | The outside of the closed pack, used for outer-carton, storage and shipping planning. |
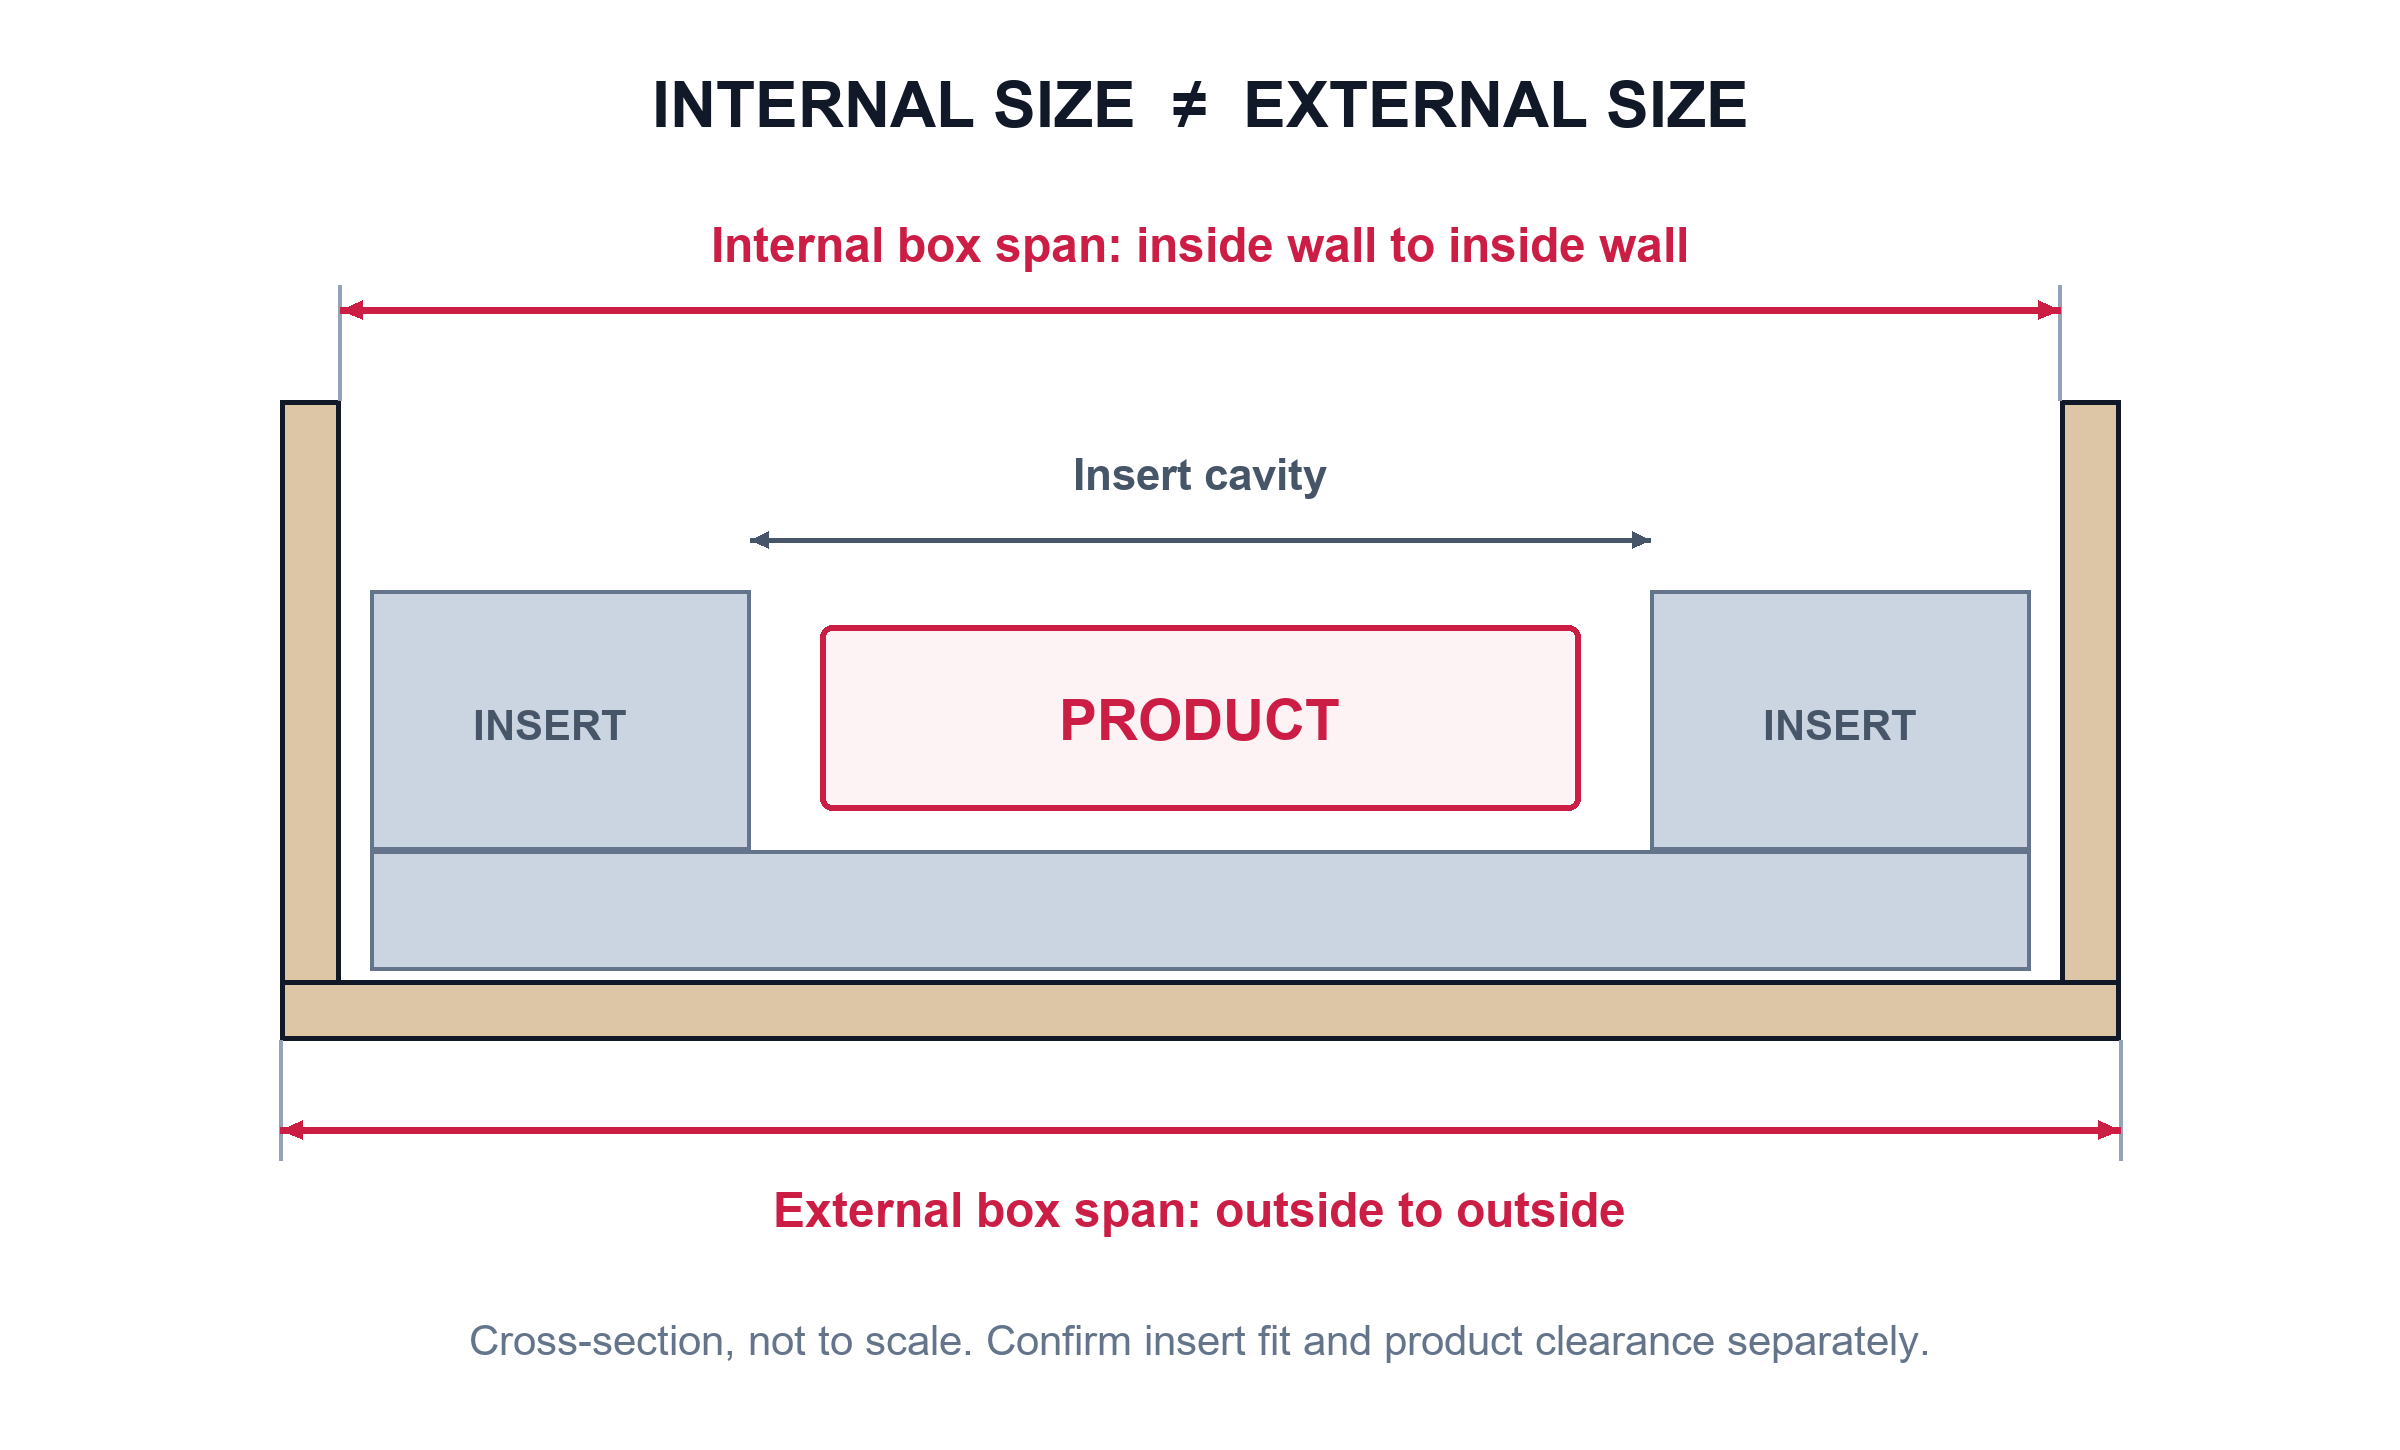
Do not convert an outside measurement into an inside measurement by subtracting a fixed amount. Board thickness, folded walls, wrapped edges, tray construction and the closure all affect the difference. Confirm both dimensions on the approved drawing.
For a shipping quote: measure the actual closed, packed parcel at its widest points. Carrier conventions can differ from the box drawing: UPS’s measurement guide starts with the longest overall side. Keep freight measurements separate from the internal size used to order the box.
3. Measure a box in six steps
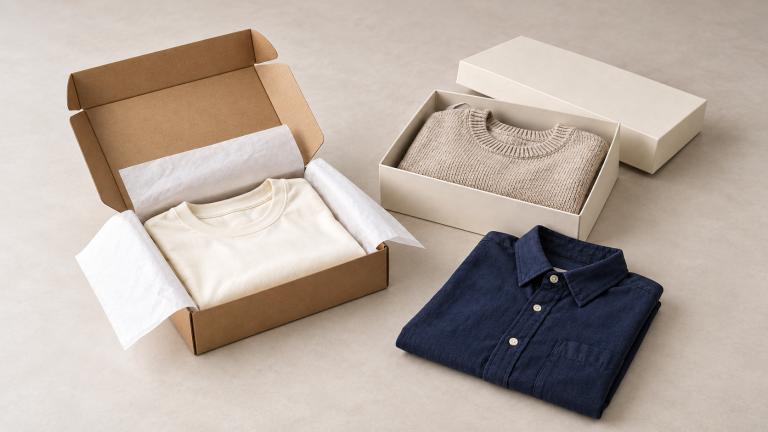
- Set the packing orientation. Arrange all items as they will be supplied: folded garment, retail sleeve, cables, tags and other components. Measure the complete arrangement rather than each item separately.
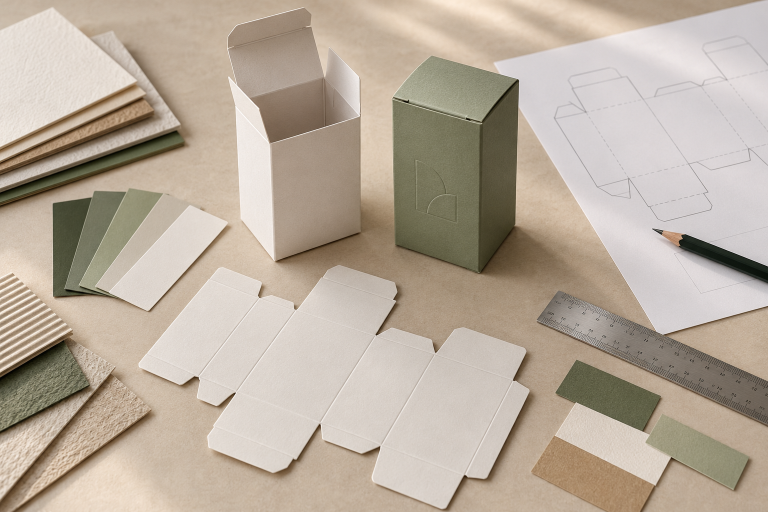
- Form the box correctly. Erect it fully on a flat surface. Seat the tabs and corners without bowing the walls. A flat blank’s overall size is not the finished box size.
- Measure length and width. For an internal fit check, place a rigid ruler between the inside walls in the labelled directions. Keep it straight and level; check narrower areas created by folds or lining.
- Check height and closure. Measure base-to-opening height, then close the lid with the contents in place. Check for flaps, padding or a lid panel that takes up space. The lid should close in its intended position without forcing it.
- Record the external pack separately. Close the sample as it will ship. Measure the outside in each direction, including any protruding closure or bulge. Record the delivery state if boxes will be supplied flat.
- Label and confirm. Record L × W × H, units, internal/external basis, box style and drawing revision. Check the result against a loaded sample before approving production.
Utilisez le Box Dimensions Calculator when converting mm, cm and inches. One inch equals 25.4 mm. Keep the original measurements and the converted values together; a unit conversion does not change an external size into an internal size.
4. Include inserts and cushioning
- Measure the insert assembly: its outside L × W × H must fit the box, while its cavities must fit the products.
- Include the complete contents: tissue, bags, pads, dividers, lids and accessory compartments all occupy space. Do not count wrapping twice if it is already included in the product envelope.
- Separate clearance from tolerance: clearance is planned space; tolerance is the allowed variation around an agreed dimension. Both need to be defined for the chosen construction.
A simple allowance example
Assume a wrapped product is 180 × 120 × 50 mm. For this example only, use 5 mm on each side, a 10 mm base pad and 5 mm above the product.
| Direction | Example calculation, mm |
|---|---|
| Internal length | 180 + 5 + 5 = 190 |
| Internal width | 120 + 5 + 5 = 130 |
| Internal height | 50 + 10 + 5 = 65 |
Preliminary internal space: 190 × 130 × 65 mm. These assumed allowances demonstrate the calculation; they are not a recommended gap or a protection specification. A fitted insert may need a different layout and installation clearance.
Give the supplier the product’s packed weight, fragile areas and transport conditions. Agree the cushioning material and any required evaluation before fixing the space. Confirm removal access as well as restraint: a product that fits but cannot be lifted out still needs a revised layout.
5. Avoid these measuring mistakes
| Mistake | Better approach |
|---|---|
| Using the bare product size | Measure the packed arrangement with wrap, labels, accessories and inserts. |
| Omitting units or dimension basis | Write “internal L × W × H, mm” beside every size. |
| Measuring a distorted box | Use a correctly formed sample and check several positions if the walls vary. |
| Ignoring the closed lid | Check the loaded pack with all flaps, lining and closures in place. |
| Using one fixed allowance | Set clearance around the actual material, product and packing process. |
| Using a single size for mixed products | Check the largest and smallest arrangements, including any required dividers. |
| Treating a drawing as a fit test | Approve a physical sample with the intended contents before bulk production. |
6. Common sizing questions
Is height the same as depth?
Some suppliers use “depth” for the base-to-opening dimension. Confirm the labelled sketch rather than relying on the word alone, especially for drawers and lid-and-base boxes.
Can I send product dimensions without choosing a box size?
Yes. Label them as product dimensions and include the packed arrangement, weight, photos and insert requirements. Ask for a proposed internal box size rather than presenting the product size as the finished box specification.
How much extra space should I add?
There is no universal allowance. A close-fitting presentation pack and a cushioned transit pack have different needs. Agree the insert, handling clearance, closure and protection requirements, then validate the loaded sample.
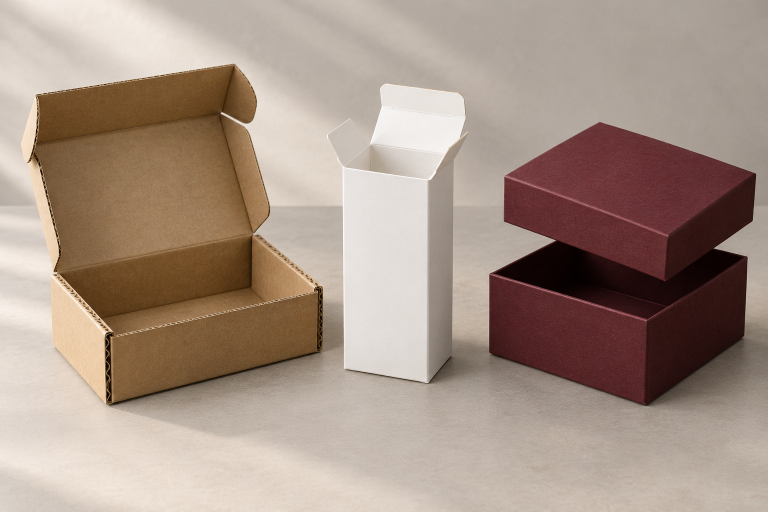
Can two boxes with the same external size fit different products?
Yes. Their walls, lining, insert and closure can leave different usable cavities. Compare the internal drawing and loaded sample, not just the outside dimensions.
7. Compare fit requirements by box style
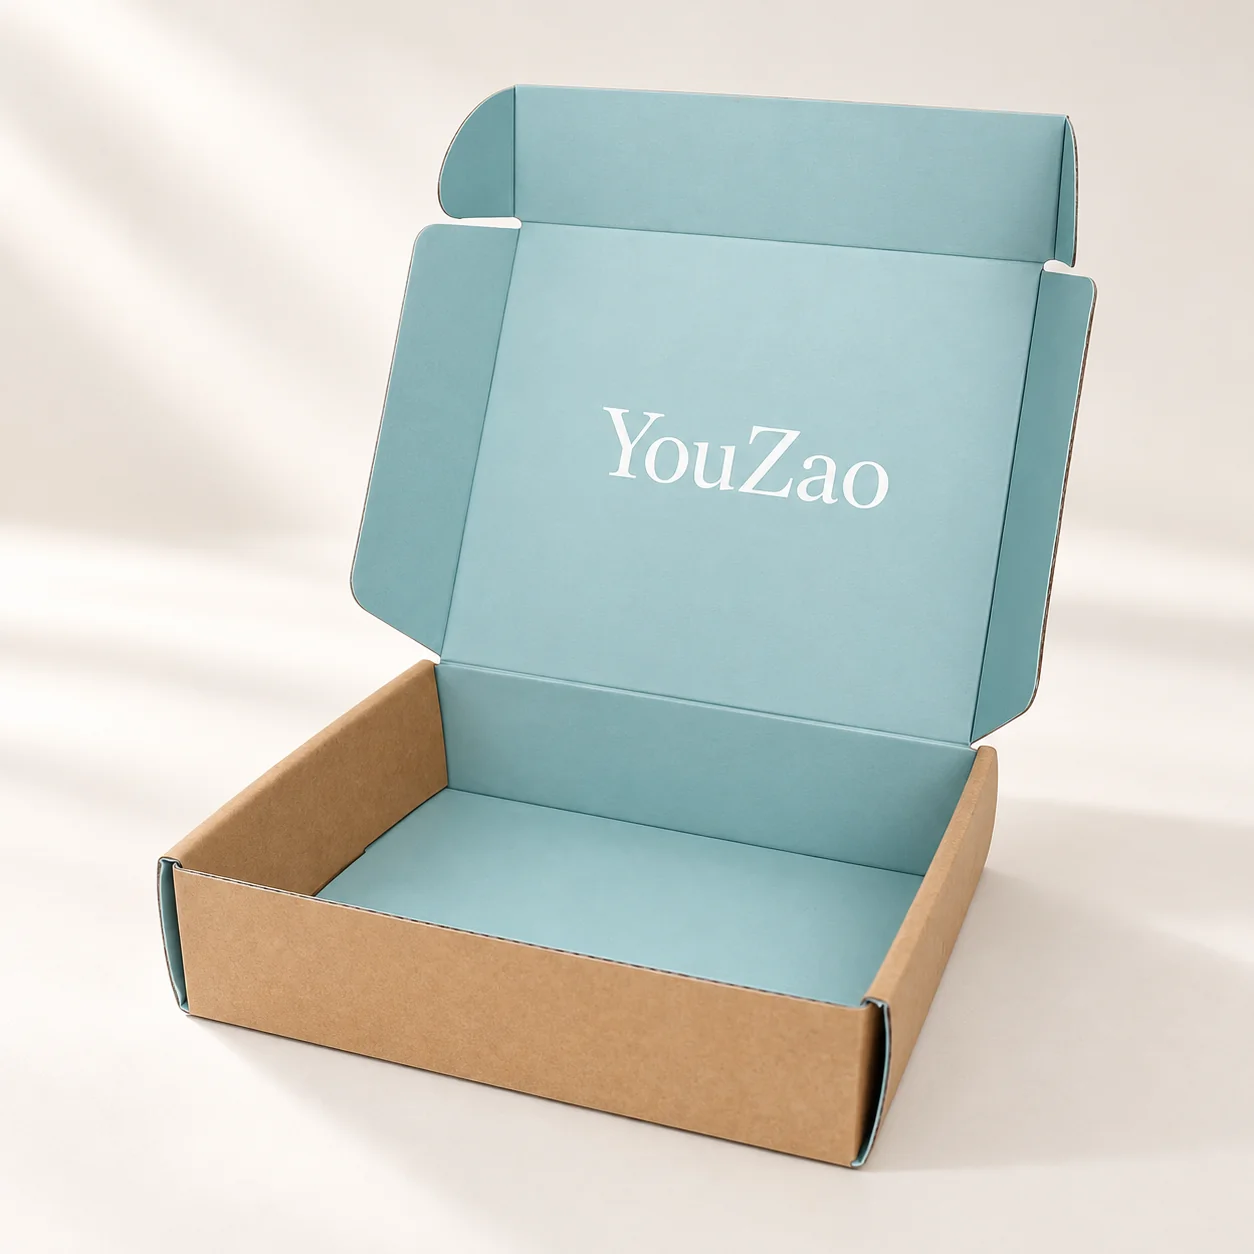
Custom 3 mm Corrugated Clothing Mailer Boxes with Printed Interior
Measure the final garment fold with tissue or bags, then check lid clearance and tuck-flap paths.
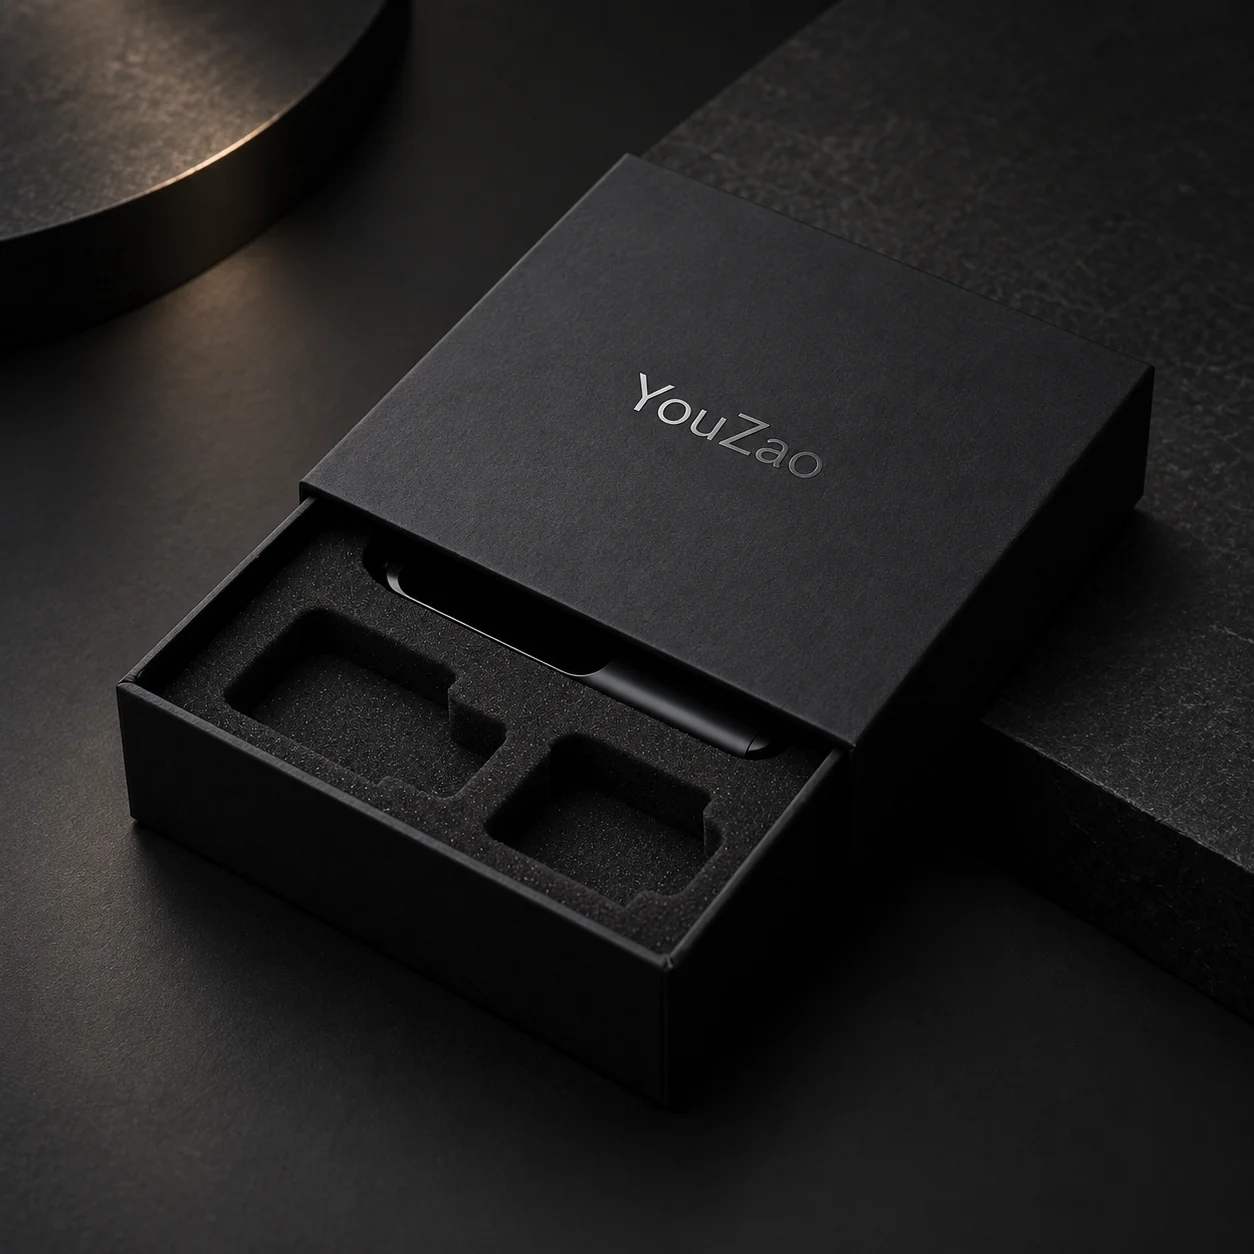
Custom Rigid Cardboard Drawer Boxes with Foam Inserts for Electronics
Check the foam cavity, insert envelope and drawer fit together, with access to remove each item.
Related guide
How to Request a Custom Packaging Quote: Requirements, Examples & Template
Turn your measurements into a complete quote brief, including quantity, printing and delivery destination.
8. Get help with custom box dimensions
Send product measurements if the box size is undecided. Include the quantity, delivery destination and a photo or drawing link where available.
 English
 Español de Argentina
 Русский
 Italiano
 日本語
 한국어
 العربية
 Français
 Deutsch